February 18, 2020


- What is a grazing table and how did they become so widely popular?
- How a grazing table can fit the needs of most all food preferences, including gluten free, vegetarians, and vegans.
- The important elements of a board
- The board – size and style
- Know your crowd
- Know the event – the style and reason for the event can help create specific boards around a theme to keep them different and unique
- The qty to buy (based on your guest count)

When getting started, here are a few more points to consider:
- Always start with a blank slate.
- Then, place your props out. Consider items like:
- Bowls
- Pedestals
- Risers
- Linens
- A good mix of styles makes your board unique – textures, colors, etc.

When starting to place the food on your board, we recommend these top steps.
- Always start with the meats
- Next, place the larger items that are for decorations, such as large fruits that might not get eaten but are beautiful for added pops of color.
- Next, place the larger bites such as cookies, crackers, fruits, etc.
- Lastly, place additional items for filler which include: nuts, pretzels, chocolates/sweet bites, etc.

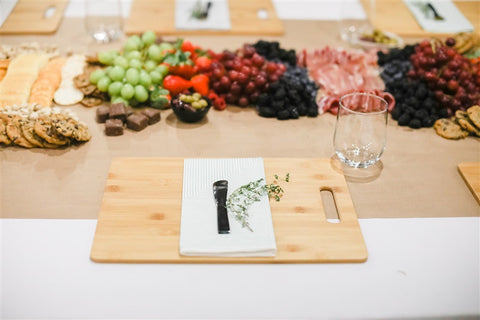
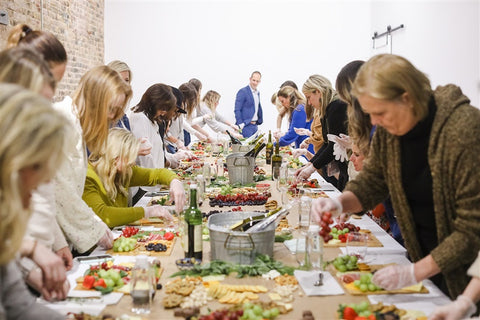
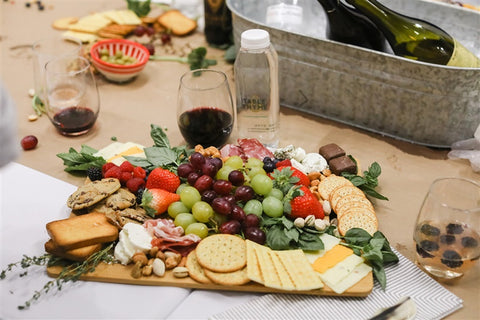
Then, we let everyone “shop” from the food that was available on the table to start creating their own board! We loved to see all of the different variations of boards, even though everyone picked from the same items.

Lastly, what else would you do when you create a beautiful board that is perfect for sharing on Instagram? You take a few photos and tag all your favorite people! We took a few minutes to walk through a few points to get the best photos, with your phone!

- Use the exposure slider on your phone to adjust the exposure before taking a photo
- Know your angles – from close ups to overhead shots, make sure to get a variety of angles to pick from
- Take advantage of natural lighting, when available. Try not to use a flash, because it can wash out an image, esp. that features food.
- Play with negative space – let your food take up 1/3 of the frame, don’t feel like it always has to capture the entire board

- Play with props – this is the best way to add dimension and texture to your shots. Don’t be afraid to use decorations, flowers, tea towels, utensils, etc. to add to your shot
- Never zoom manually – if you want to get a detailed shot, move closer to the subject
- Edit photos afterwards – there are so many ways to edit your photos, by using your phones editing app and by using third party apps. A few we like to use are VSCO, Snapseed, Lightroom, and Afterlight. We always say to be mindful of the editing tools you use on food specifically – you do not want a moody filter on your food (unless that’s the style you’re going for)
- Post your photos to social and tag, tag, tag! Make sure to tag your friends, and any companies that you’re working with. After you tag, most of the time everyone else will re-share, circulating your photo for more than just your audience to see!


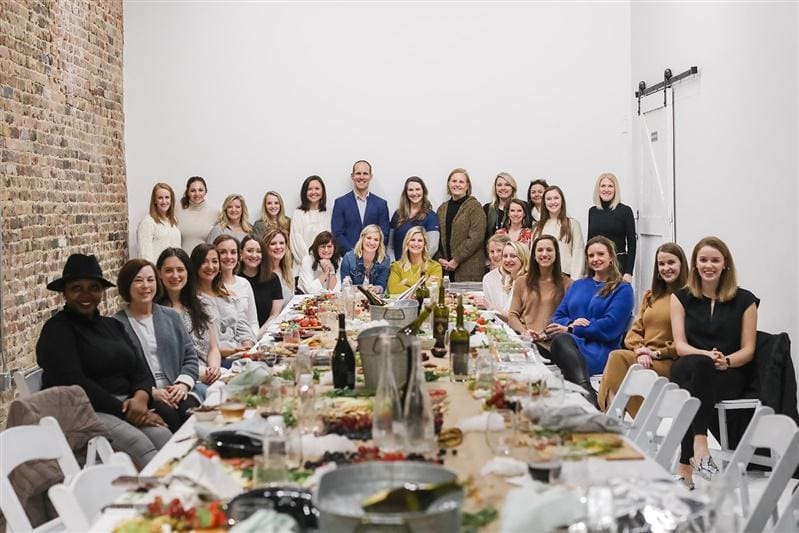
Needless to say, we had a great time hosting our first graze board class. We look forward to hosting more events like this in the future. If you’re in the Birmingham area and are interested in this type of event, please feel free to contact us. The graze board class is great for private parties, baby showers, bridal showers, girls night out, corporate parities, women’s retreats, and more! If you’d like to learn how to make your own epic charcuterie board or an amazing, WOW-ing grazing table, let us know!


Photography: by the amazing Megan Hand
For more information, contact us. Follow us on out social media: Instagram, Facebook, LinkedIn, and Pinterest, to see the other amazing events we have created.
