November 2, 2023
While adapting to the changes outside your window, each dessert on your table deserves just as much attention.
The fall season brings cherished recipes that capture the essence of autumn, evoking memories of crisp air and gatherings with loved ones.
What is it about these fall desserts that stirs such nostalgia? Is it the thought of baking with family on a Sunday afternoon, or perhaps the recollection of the familiar scent roaming through the kitchen?
While leafing through a weathered recipe book brings its own sense of warmth, we’ve curated six new fall desserts to elevate your seasonal baking.
Venture beyond tradition and discover an addition that might just become a new staple in your fall dessert rotation!
Six Fall Dessert Recipes

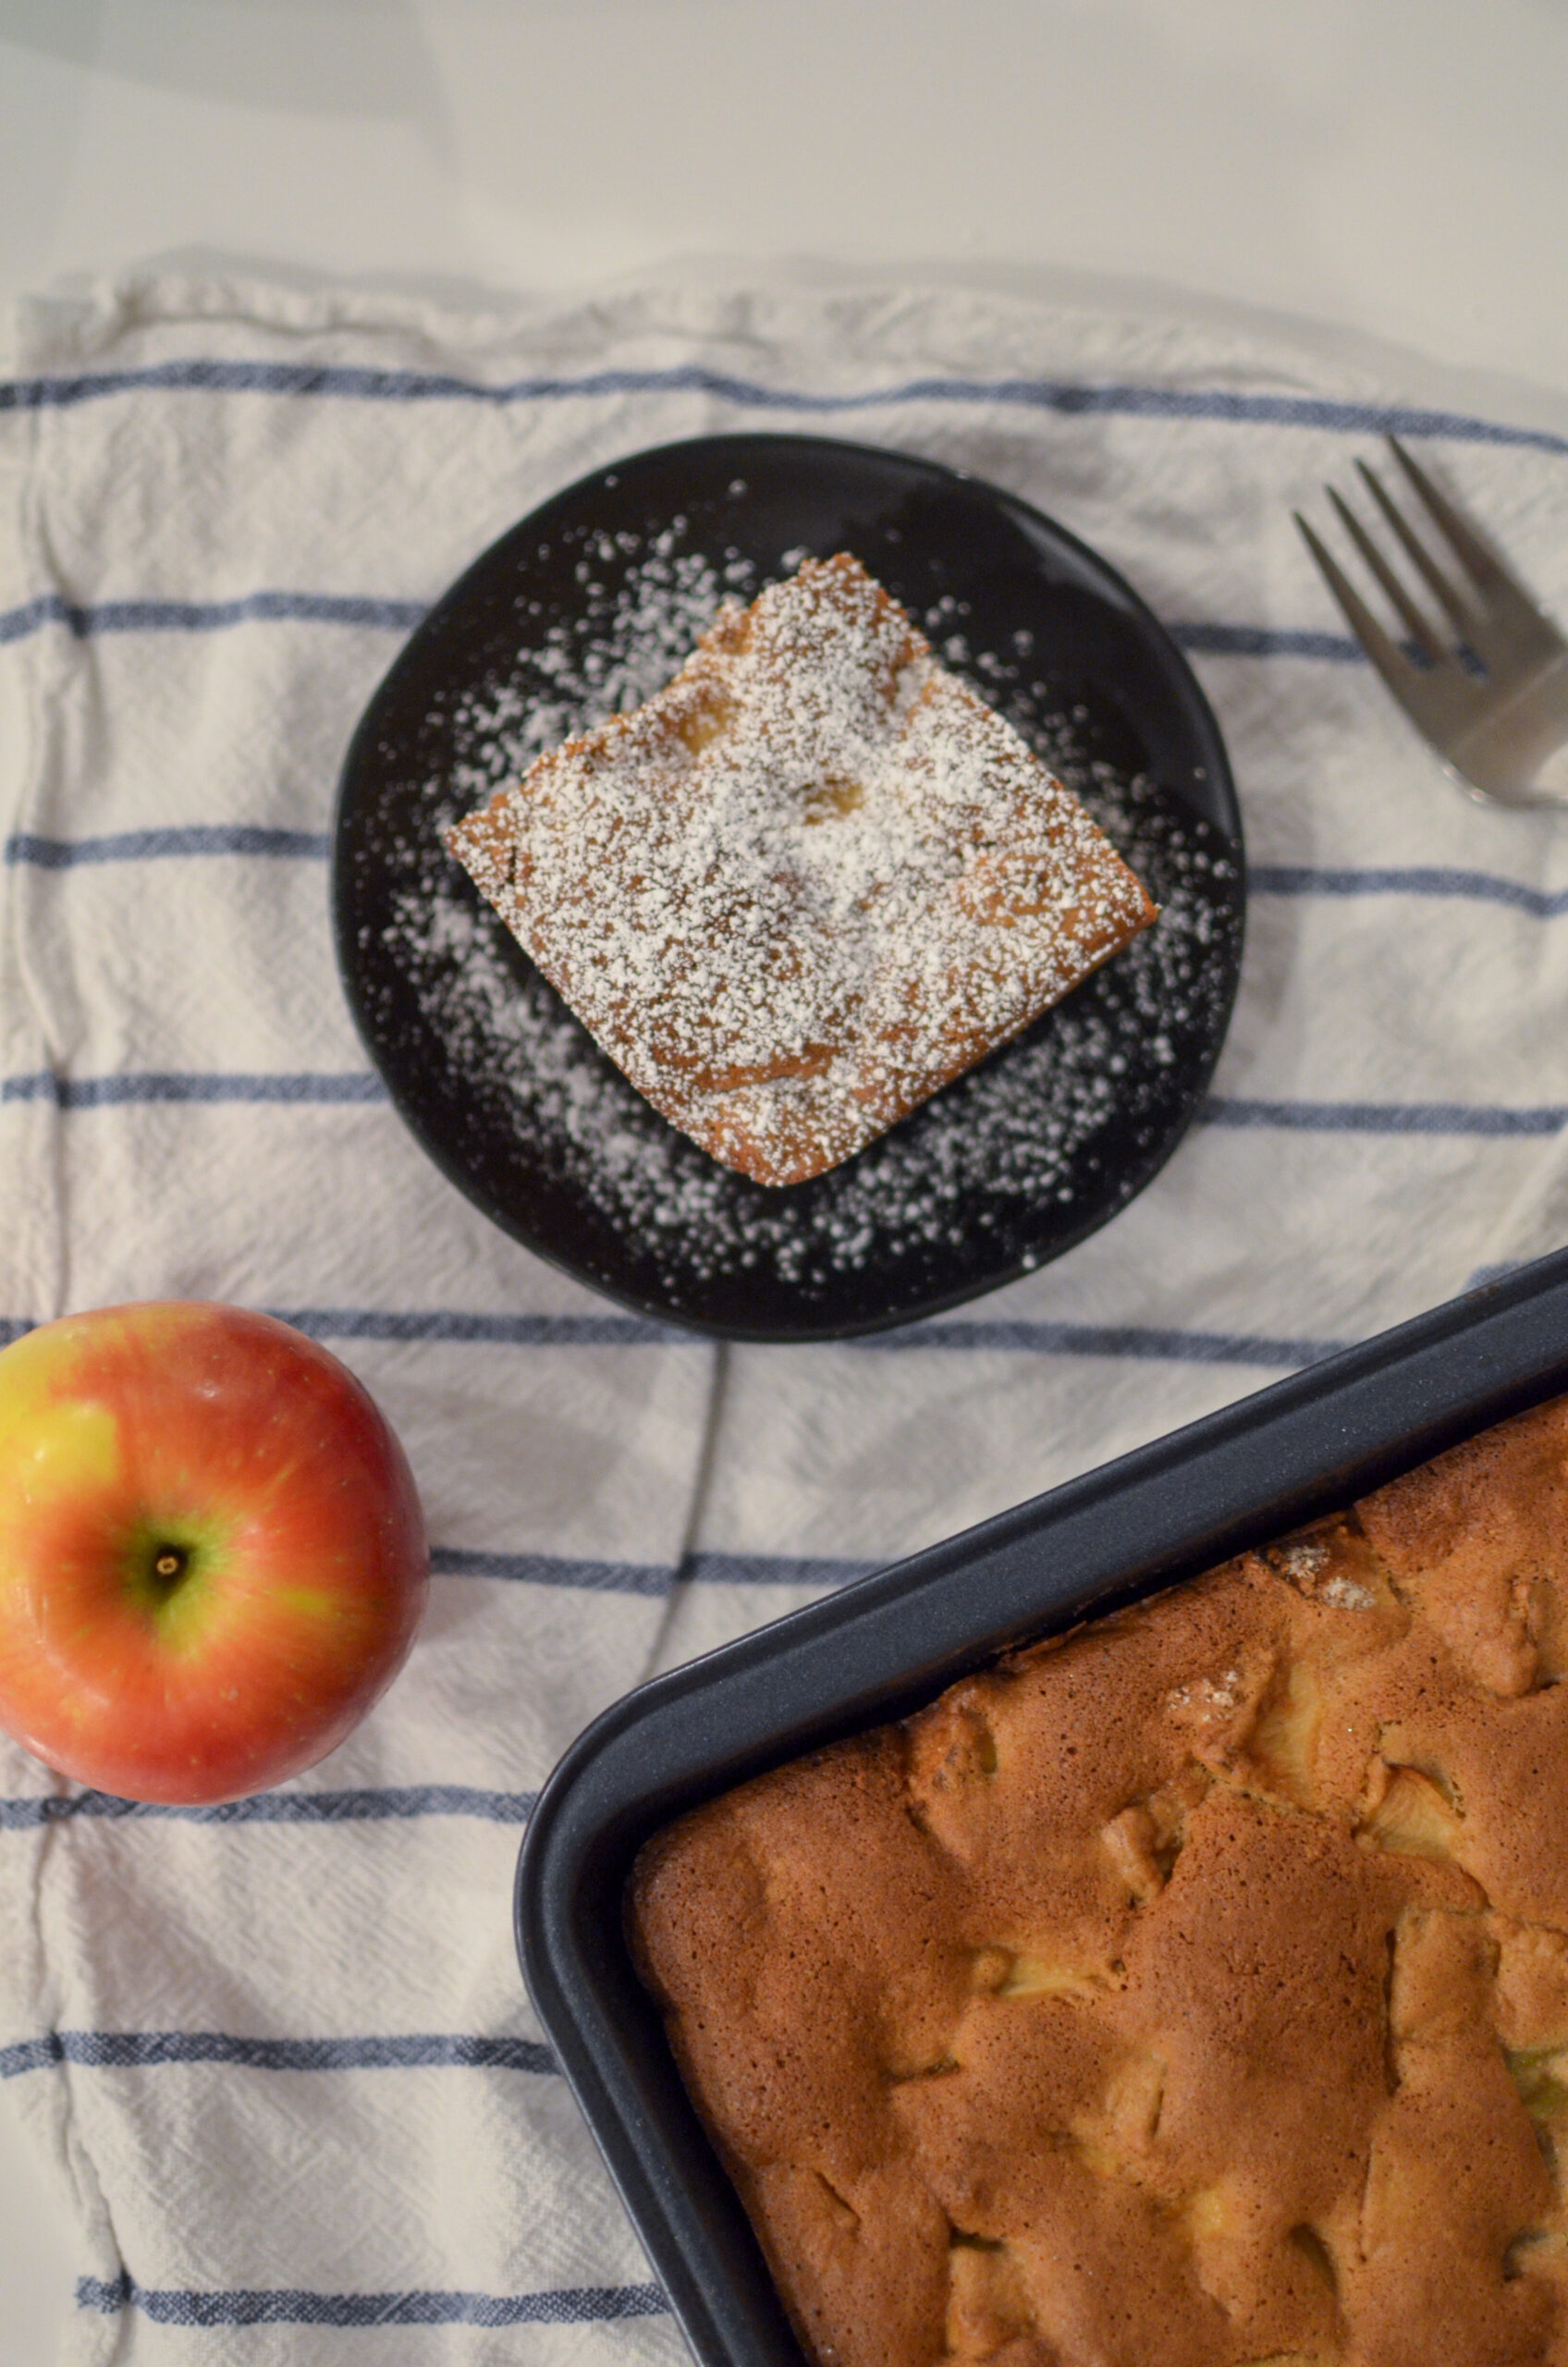
4-ingredient Apple Cake
Cook time: 1 hour 40 min
Ingredients:
- Unsalted butter, at room temperature, or oil for greasing the pan
- 3 large eggs, at room temperature
- 1 cup (213 grams) light brown sugar
- ¼ tsp kosher salt
- 3 Granny Smith apples (about 198 grams or 7 oz each)
- 1 cup plus 2 Tbsp (134 grams) white whole-wheat flour
Instructions:
- Heat the oven to 350°F. Butter the bottom (but not the sides) of an 8-inch springform pan.
- Combine the eggs, light brown sugar, and salt in the bowl of a stand mixer fitted with the whisk attachment. Start on low, then raise the speed to medium-high, and beat for about 8 minutes, until the mixture is a pale tan in color and super fluffy.
- While that’s going, peel the apples, then cut them into ½-inch pieces (they don’t have to be perfect cubes but they should all be a similar size). This should yield about 4 cups of apple pieces.
- When the egg-sugar mixture is done mixing, remove the bowl from the stand mixture and add the flour. Use a flexible spatula to gently fold in the flour until it’s almost incorporated. Add the apples and fold those in, too. Scrape the batter into the prepared pan.
- Bake for about 1 hour and 15 minutes, or until the top is browned and a cake tester comes out completely clean. Cool in the pan for about 30 minutes, then run a knife around the edge to loosen the cake, and unhinge the outside.
- Serve the cake in big wedges, warm or at room temperature, with confectioners’ sugar dusted on top, and crème fraîche (or whipped cream or Greek yogurt) plopped alongside. This is best the day it’s made.
Recipe by: @food52
Pumpkin Pancakes
Cook time: 15 min
Ingredients:
- 1½ cups all-purpose flour, spooned into measuring cup and leveled off
- 2 tsp baking powder
- ¼ tsp baking soda
- 1½ tsp cinnamon
- 1 tsp allspice
- ¼ tsp ginger
- ½ tsp salt
- ½ cup pumpkin pureé
- 3 Tbsp unsalted butter, melted
- 1 cup milk
- 2 large eggs
- 3 Tbsp maple syrup, plus more for serving
- Vegetable oil, for cooking
Instructions:
- Preheat the oven to 200°F and set a rack in the middle position. Line a baking sheet with aluminum foil for easy clean-up.
- In a medium bowl, whisk together the flour, baking powder, baking soda, cinnamon, allspice, ginger, and salt. Set aside.
- In a large bowl, whisk together the pumpkin and melted butter. Whisk in the milk, followed by the eggs and maple syrup. Add the flour mixture and whisk until smooth. If the batter seems too thick, add 1 to 2 more tablespoons of milk. Do not over-mix.
- Heat a griddle or nonstick pan over medium heat and coat lightly with vegetable oil. Drop about ¼ cup batter from a small ladle or large spoon and cook until the puffy and bubbling on top and golden and crisp on the bottom, about 2 minutes. Flip and cook until the bottom is golden, about 30 seconds. Serve immediately with maple syrup or place on the prepared baking sheet to keep warm in the oven until all of the pancakes are ready.
Recipe by: @onceuponachef
Orange Roll Pumpkins
Cook time: 20 min
Ingredients:
- 1 can of orange rolls
- Bakers twine
- Cinnamon Sticks
Instructions:
- Lay out your rolls, then use the bakers twine to create 6 even segments by wrapping it around each roll and tying it off. Bake according to instructions on the package.
- Cut and remove the twine from the baked rolls, then coat each roll with icing. Press a cinnamon stick into the center of each roll.
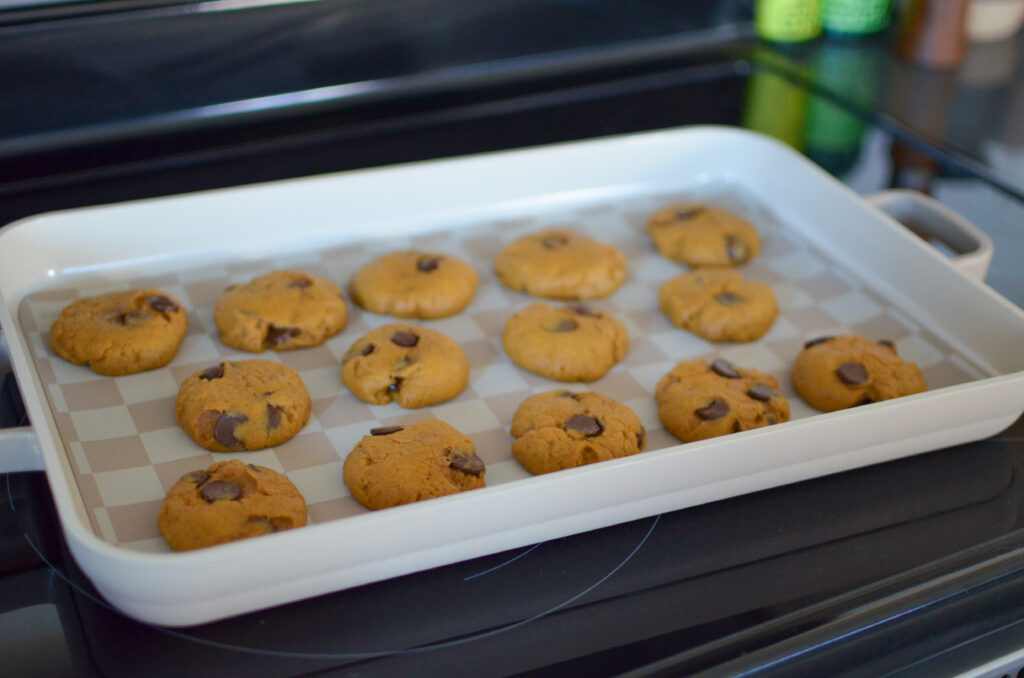
Pumpkin Chocolate Chip Cookies
Cook time: 1 hour 10 min
Ingredients:
- ½ cup (8 Tbsp; 113g) unsalted butter, melted & slightly cooled
- ¼ cup (50g) packed light or dark brown sugar
- ½ cup (100g) granulated sugar
- 1 tsp pure vanilla extract
- 6 Tbsp (86g) pumpkin puree
- 1 ½ cup (188g) all-purpose flour
- ¼ tsp salt
- ¼ tsp baking powder
- ¼ tsp baking soda
- 1 ½ tsp cinnamon
- 1 tsp store-bought or homemade pumpkin pie spice
- ½ cup (90g) semi-sweet chocolate chips, plus a few extra for the tops
Instructions:
- Whisk the melted butter, brown sugar and granulated sugar together in a medium bowl until no brown sugar lumps remain. Whisk in the vanilla and blotted pumpkin until smooth. Set aside.
- Whisk the flour, salt, baking powder, baking soda, cinnamon and pumpkin pie spice together in a large bowl. Pour the wet ingredients into the dry ingredients and mix together with a large spoon or rubber spatula. The dough will be very soft. Fold in 1/2 cup semi-sweet chocolate chips. The chips may not stick to the dough because of the melted butter, but do your best to combine.
- Cover the dough and chill for 30 minutes or up to 3 days. Chilling the dough is imperative for this recipe.
- Remove dough from the refrigerator. Preheat oven to 350°F. Line two large baking sheets with parchment paper or silicone baking mats.
- Scoop the dough, about 1 ½ Tbsp of dough per cookie and roll each into balls. Arrange cookie dough balls 3 inches apart on the prepared baking sheets. Using the back of a spoon or the bottom of a cup/measuring cup, slightly flatten the tops of the dough balls. (Without doing so, the cookies may not spread.)
- Bake for 11-12 minutes or until the edges appear set. The cookies will look very soft in the center. Remove from the oven. If you find that your cookies didn’t spread much at all, flatten them out with the back of a spoon when you take them out of the oven. If desired, press a few chocolate chips into the tops of the warm cookies. This is only for looks.
- Cool cookies on the baking sheets for at least 10 minutes before transferring to a wire rack to cool completely. The longer the cookies cool, the even better they taste! The flavor gets stronger and the texture becomes chewier. Let them sit, uncovered, for several hours before serving. Chewiness and pumpkin flavor are even stronger on day 2.
Recipe by: @sallysbakeblog
Apple Cider Rice Krispies
Cook time: 45 min
Ingredients:
- ½ cup unsalted butter, plus more for greasing
- 2 cups apple cider or unfiltered apple juice
- 1 Tbsp granulated sugar
- 1 tsp ground cinnamon
- 2 10 oz bags mini marshmallows, divided (about 11 cups total)
- ¼ tsp kosher salt
- 1 12 oz box rice cereal, such as Rice Krispies
- Nonstick cooking spray
Instructions:
- In a large heavy-bottomed pot or Dutch oven set over medium heat, melt the butter. Continue cooking, stirring often to prevent the milk solids from burning, until the butter foams and darkens into a light amber color and smells nutty, 4 to 6 minutes. Immediately add the apple cider, increase the heat to high, and bring to a boil. Let the cider boil, stirring occasionally, until it reduces into a thick, bubbling caramel-like consistency that coats the back of a spoon, 18 to 20 minutes.
- As the cider is reducing, grease a 9×13-inch glass or metal baking pan. In a small bowl, combine the sugar and cinnamon.
- Once the cider has reduced, add one bag of marshmallows and salt and continue cooking over high heat, stirring constantly, until the marshmallows melt and darken into a light caramel color, 3 to 4 minutes.
- Remove the pot from the heat and add the remaining bag of marshmallows. Stir just until the marshmallows are about half melted, then add the rice cereal. Gently but quickly mix everything together until the rice cereal is evenly coated in the marshmallow mixture and immediately transfer into the prepared baking pan. Gently press the mixture into an even layer using a spatula sprayed with nonstick cooking spray. Sprinkle the cinnamon sugar mixture over the top and let set for at least 1 hour before cutting.
Recipe by: @food52

Find More Dessert Recipes and All New Favorites with Table & Thyme
If you liked these must-try fall dessert recipes and ideas, you will love our other content!
At Table & Thyme, we are committed to elevating all occasions. From birthday parties to weddings to corporate retreats, our team of skilled caterers is dedicated to creating stellar experiences with our gourmet catering options.
That is also why we share all kinds of tips, tricks, guides, and more! By joining the Table & Thyme community, you have access to all the tools you need to be a 5-star event host no matter the occasion!
Tune into our blog where we share everything from style inspo to hosting guides to irresistible seasonal recipes.
For more information on Table and Thyme, contact them today! Follow us on our social media: Instagram, Facebook, LinkedIn and Pinterest to see the other amazing events, lavishing grazing tables and beautiful graze boxes we have created.
